

Understanding how to remove wall decals or stickers safely depends entirely on matching the correct removal method to both the adhesive type and your underlying wall paint. If your primary goal is to remove decals/stickers without damaging paint, understanding the material science behind the bond is your crucial first step. Some graphics lift off in one smooth, satisfying motion, while older applications might leave stubborn sticky patches or risk tearing the drywall surface if handled incorrectly. Whether you are dealing with a fresh repositionable graphic or a decades-old permanent vinyl piece, this comprehensive guide walks you through six proven removal methods ranked from gentlest to strongest, alongside professional tips for wall repairs.
On this page
- Safest Approaches for Clean Removal
- Why Some Wall Decals Are Harder to Remove Than Others
- What You Will Need to Remove Wall Decals Safely
- Method 1: Slow Peel (Best for Fresh, Repositionable Adhesives)
- Method 2: Heat Method (Hair Dryer Technique)
- Method 3: Soapy Water (Gentle Way to Loosen Adhesive)
- Method 4: Oil Method (Olive Oil or Baby Oil)
- Method 5: Isopropyl Alcohol (For Stubborn Adhesive Residue)
- Method 6: Acetone or WD-40 (For Thick or Cured Residue)
- How to Remove Wall Stickers from an Entire Wall
- How to Remove Wall Stickers from Textured Walls
- What to Do if the Paint Peels Off
- How to Prevent Damage When Installing New Decor
- Can You Remove a Wall Decal and Reuse It?
- Can You Paint Over Sticker Residue?
- Choosing a Decal Built for Easy Removal
- Frequently asked questions
- How can I remove wall decals without damaging the paint?
- Is removing wall stickers different from decals?
- Is removing wallpaper decals different?
- Can I remove wall art stickers the same way?
- Conclusion
Safest Approaches for Clean Removal
To safely remove wall decals without peeling paint, follow a progressive approach starting with the gentlest mechanical method before introducing heat or chemical solvents.
- Step 1: Start with a slow, low-angle peel using just your fingers or a plastic scraper.
- Step 2: Apply moderate, even heat with a hair dryer to soften hardened glue.
- Step 3: Use warm soapy water and a soft cloth for delicate or matte paint finishes.
- Step 4: Apply olive oil or baby oil to break down dry, brittle adhesive edges.
- Step 5: Use isopropyl alcohol to dissolve stubborn, sticky residue cleanly.
Why Some Wall Decals Are Harder to Remove Than Others
Before diving into the exact removal process, it helps to understand the difference between decals and stickers. Generally, a sticker is printed on paper or basic vinyl meant for shorter-term use on various surfaces, whereas a decal typically utilizes a more durable, specialized vinyl or fabric material engineered specifically for longer-term architectural application. A handful of fundamental factors determine how easily either of these comes off, and knowing them upfront helps in choosing the correct method the first time instead of guessing and risking surface damage.
Paint type: The finish of your wall plays a massive role in adhesive bonding. Semi-gloss and glossy paints have a tight, smooth molecular structure that releases adhesives much more easily. Conversely, matte, flat, and eggshell finishes are inherently more fragile; they are highly porous and prone to lifting when subjected to tension.
Wall texture: Textured walls present a unique physical dynamic. They reduce the total contact area, so the adhesive bonds less strongly across the broad surface. While this can make the initial pulling easier, it drastically increases the risk of sticky residue getting trapped deep inside the plaster grooves.
Age of paint: Freshly painted walls are notoriously tricky. Paint requires several weeks—often a minimum of 30 days depending on humidity and brand—to fully cure and outgas. A decoration removed from a wall where the paint is under 30 days old is far more likely to pull color with it, as the paint itself hasn’t fully bonded to the primer.
Time on the wall: The longer a product stays on your drywall, the more the adhesive hardens and cures. This is especially true with traditional solvent-based products, which can undergo chemical changes over years of exposure to room temperature fluctuations and sunlight.
Decal material: Modern PVC-free fabric decals use a repositionable, water-based adhesive that is explicitly designed to release cleanly without chemical degradation. Standard PVC vinyl, on the other hand, often utilizes adhesives that can cure into a much harder, more permanent bond over time, significantly raising the removal risk as the years go by.
What You Will Need to Remove Wall Decals Safely
Most standard removals require only a few common household items. However, if you are tackling a room full of heavy, cured adhesives, having a robust toolkit prepared will save you hours of frustration. Always gather your supplies before you start peeling.
Basic physical tools:
- Fingernails, tweezers, or a dedicated plastic scraper (never use metal).
- Soft microfiber towels or clean cotton cloths.
- A standard hair dryer with adjustable heat settings.
For sticky residue mitigation:
- Mild, uncolored dish soap.
- Isopropyl alcohol (rubbing alcohol, ideally 70% or higher).
- Olive oil or standard baby oil.
- WD-40 or a commercial citrus-based adhesive remover.
- Acetone (requires extreme caution; always spot-test first to prevent paint bleaching).
For larger, room-scale jobs:
- A fabric or garment steamer, which is highly useful when an entire wall needs to be cleared at once and dry heat isn’t fast enough.
Method 1: Slow Peel (Best for Fresh, Repositionable Adhesives)
If the graphic is still fairly new or made of high-quality fabric, a slow mechanical peel is often all that is required to achieve a clean surface.
Start by lifting one corner gently using a fingernail or the flat edge of a plastic scraper. Once you have enough material to grip, peel incredibly slowly at a low angle. The trick is to keep the material folded back close to the wall as you pull, rather than pulling straight out toward your body, ensuring the paint doesn’t come with it.
If the adhesive feels rigid, snaps, or visibly resists your pulling force, stop immediately. Move to the heat method below rather than forcing it and tearing the drywall paper. This slow peel method is the gold standard for new products, high-quality repositionable vinyl, and any decoration that hasn’t been installed for very long. PVC-free fabric variants are typically engineered precisely for this slow-peel approach since their water-based glue never fully hardens like solvent-based vinyls do.
Method 2: Heat Method (Hair Dryer Technique)
When dealing with the best way to remove old wall decals without peeling paint, introducing controlled heat is your strongest asset. A little thermal energy softens the cured adhesive layer, restoring its elasticity and making the material significantly easier to lift without stressing the delicate paint underneath.
Turn a standard hair dryer to its medium-high heat setting. Hold the nozzle roughly 1 to 2 inches away from the surface and warm the area evenly in a sweeping motion. The goal is to keep it very warm to the touch, but not scalding hot, ensuring the adhesive softens without overheating and blistering the wall paint.
Begin peeling slowly, continuing to direct warm air at the exact line where the adhesive meets the wall so the glue stays soft while you work. A dedicated heat gun set on its absolute lowest setting, or a clothing steamer, work as excellent alternatives. Steamers are particularly effective for stubborn, dry residue because they introduce moisture alongside heat.
Method 3: Soapy Water (Gentle Way to Loosen Adhesive)
If you are searching for the safest adhesive remover for wall stickers in a nursery, soapy water is unparalleled. This is arguably the safest option for fragile painted surfaces since it requires zero harsh volatile organic compounds (VOCs) or chemical solvents.
Mix warm water with a small squirt of mild dish soap in a bowl. Dip a soft microfiber cloth into the mixture, wringing it out so it is damp rather than dripping. Press this warm, soapy cloth directly over the leftover residue and let it sit undisturbed for about a minute. This allows the surfactants in the soap to penetrate and break the surface tension of the glue.
After a minute, rub gently in small, concentric circles to physically loosen the glue structure. Once it softens into small gel-like balls, you can easily wipe them away. Soapy water excels at handling light residue, protecting delicate flat paint finishes, and treating areas that didn’t respond cleanly to a plain slow peel.
Method 4: Oil Method (Olive Oil or Baby Oil)
Oil naturally breaks down stubborn, petroleum-based adhesive bonds without the harsh side effects of chemical solvents. This technique works exceptionally well on older decorations that have developed dry, crusty, and brittle edges over the years.
Apply a very small amount of standard olive oil or baby oil directly to a microfiber cloth or a cotton ball. Rub it generously over the edges and directly onto any exposed glue, allowing the lipids to penetrate the hardened structure. Let the oil sit and work its magic for 5 to 10 minutes.
After the waiting period, peel the material gently and wipe away the resulting slushy residue with a clean cloth. You must finish this process by thoroughly rinsing the localized area with warm soapy water; leaving an oily film on your wall will create dark stains and prevent any future paint from adhering properly. This oil strategy suits older pieces with dry edges, thick patches of sticky residue, and environments where avoiding harsh fumes is a strict priority.
Method 5: Isopropyl Alcohol (For Stubborn Adhesive Residue)
When gentle natural methods fall short, isopropyl alcohol is the standard chemical agent used to break down tougher residue efficiently. It evaporates quickly, limiting the time it spends interacting with your paint.
Apply a small amount of isopropyl alcohol to a cotton ball or a dedicated cleaning swab. Rub the remaining residue in slow, controlled, circular motions. Let the alcohol sit on the surface for just a few seconds to chemically dissolve the glue bonds.
Wipe the area completely clean with a soft cloth. Because alcohol can occasionally dull certain paint finishes if left too long, always rinse the treated area with a damp soapy cloth afterward. This chemical approach works incredibly well on medium-strength glues, and is particularly effective on glass, mirrors, or high-gloss paint where leftover smudges are highly visible.
Method 6: Acetone or WD-40 (For Thick or Cured Residue)
For industrial-strength adhesion that outright resists every gentler method, a very small application of acetone or WD-40 will quickly break it down. However, these are heavy-duty solvents and must be applied with extreme caution regarding your wall finish.
Apply a minuscule amount to a soft cloth or cotton swab. You must test this on an inconspicuous spot first (like behind a piece of furniture or near the floorboard) to confirm that your specific wall paint doesn’t melt, discolor, or react. Once cleared, rub the stubborn residue gently in small circles until the thick glue liquifies.
Wipe the surface completely clean, and then vigorously wash the area with warm soapy water to remove the heavy chemical lubricants left behind by WD-40 or the harshness of acetone. Reserve this aggressive method strictly for thick, stubborn glue that nothing else could touch, extremely old graphics that left heavy damage behind, or walls that are already scheduled to be primed and repainted regardless of the outcome.
| Removal Method | Best Used For | Risk to Paint Finish | Required Aftercare |
| Slow Peel | Fresh, water-based adhesives | Very Low | None |
| Heat / Hair Dryer | Hardened, older PVC vinyl | Low | Light wiping |
| Soapy Water | Nurseries, matte paints | Very Low | Drying with cloth |
| Oil Method | Dry, brittle adhesive edges | Low | Wash with soapy water |
| Isopropyl Alcohol | Stubborn, sticky residue | Medium | Wash with soapy water |
| WD-40 / Acetone | Extremely cured, thick glue | High | Heavy degreasing & wash |
How to Remove Wall Stickers from an Entire Wall
When dozens of decorative elements cover one entire wall, removing each small piece individually with a hair dryer can take hours. In that scenario, treating the wall as a standard repaint preparation job rather than lifting every piece by hand is often the most time-efficient choice.
Start by manually scraping the broad surface with a plastic putty knife or a standard 5-in-1 painter’s tool to remove all raised bits of glue, torn vinyl, or paper material. Next, lightly sand the entire affected area using roughly 120-grit sandpaper to knock down bumps, smooth rough patches, and eliminate microscopic glue ridges.
If any drywall paper has torn or paint has lifted, fill those damaged spots with a high-quality spackle and let it dry fully according to the manufacturer’s instructions. Sand those spots again once dry until the patched areas sit perfectly flush with the surrounding wall. Finally, prime the entire surface with a dedicated stain-blocking or bonding primer to chemically seal any remaining microscopic adhesive, and repaint in the wall’s original color for a flawless finish. This aggressive prep approach makes the most sense when a child’s entire room is covered, when there is simply too much damage to clean piece by piece, or when a full room makeover is already planned.
How to Remove Wall Stickers from Textured Walls
Figuring out how to remove wall stickers from textured walls without damage requires a slightly different approach. Because adhesive settles deeply into the valleys and grooves of textured plaster (like orange peel or knockdown textures) rather than sitting flat, it grips unevenly.
Always use the heat method first here. A textured surface tends to hold onto adhesives much more stubbornly than a perfectly smooth one, and thermal expansion is necessary to loosen that grip. Peel incredibly slowly, working in very small sections at a time rather than pulling across the whole piece at once.
Clean any leftover adhesive deep in the texture using warm soapy water or a mild solvent, but apply it with a thick microfiber cloth that can push into the grooves rather than a stiff-bristled brush, which might scratch the paint. Above all, use a plastic scraper—never a metal one. Metal edges will instantly catch on the raised plaster bumps and gouge the architectural texture off the wall. Patience matters significantly more here, since complex textures make it notoriously easy to miss small, hidden adhesive pockets on your first pass.
What to Do if the Paint Peels Off
Even with careful execution, sometimes a removal occasionally lifts a small patch of paint. This happens most often on delicate matte finishes or walls that were painted less than a month before the decoration went up. If you originally wanted to remove decals/stickers without damaging paint but an accident happened, the fix is straightforward and rarely requires repainting the entire room.
First, gently scrape away any loose, curling, or flaking paint around the damaged spot using a putty knife. You want a solid edge to work with. Lightly sand the immediate area until the transition between the bare drywall and the surrounding paint feels completely smooth to the touch.
Apply a very thin, even layer of standard interior spackle over the divot and let it dry completely. Sand the dried spackle again so the patch sits perfectly level with the rest of the wall. To ensure a lasting repair, prime the spot with a bonding primer; this step is vital to seal any leftover adhesive and provide a grip for the topcoat. Finish by dabbing matching wall paint over the primer using a small foam roller or sponge for an even, invisible repair that perfectly mimics the surrounding texture.
How to Prevent Damage When Installing New Decor
Prevention always starts long before the decoration ever touches the drywall. Developing a few simple installation habits makes the eventual removal process significantly easier down the line.
Always let brand new interior paint cure for at least two to three, ideally four, weeks before applying anything to the surface. You must also clean the wall thoroughly first using a damp cloth; unseen dust, pet dander, and household oils weaken the adhesive bond in unpredictable ways, causing it to grab unevenly.
Choose removable or repositionable decals over permanent solvent-based vinyl whenever there is a chance the wall might change in the future. We highly recommend exploring our removable wall decal collection to ensure your surfaces remain safe. Lastly, avoid installing these on rough, heavily textured walls where adhesive contact is inconsistent and removal is guaranteed to be a headache.
Can You Remove a Wall Decal and Reuse It?
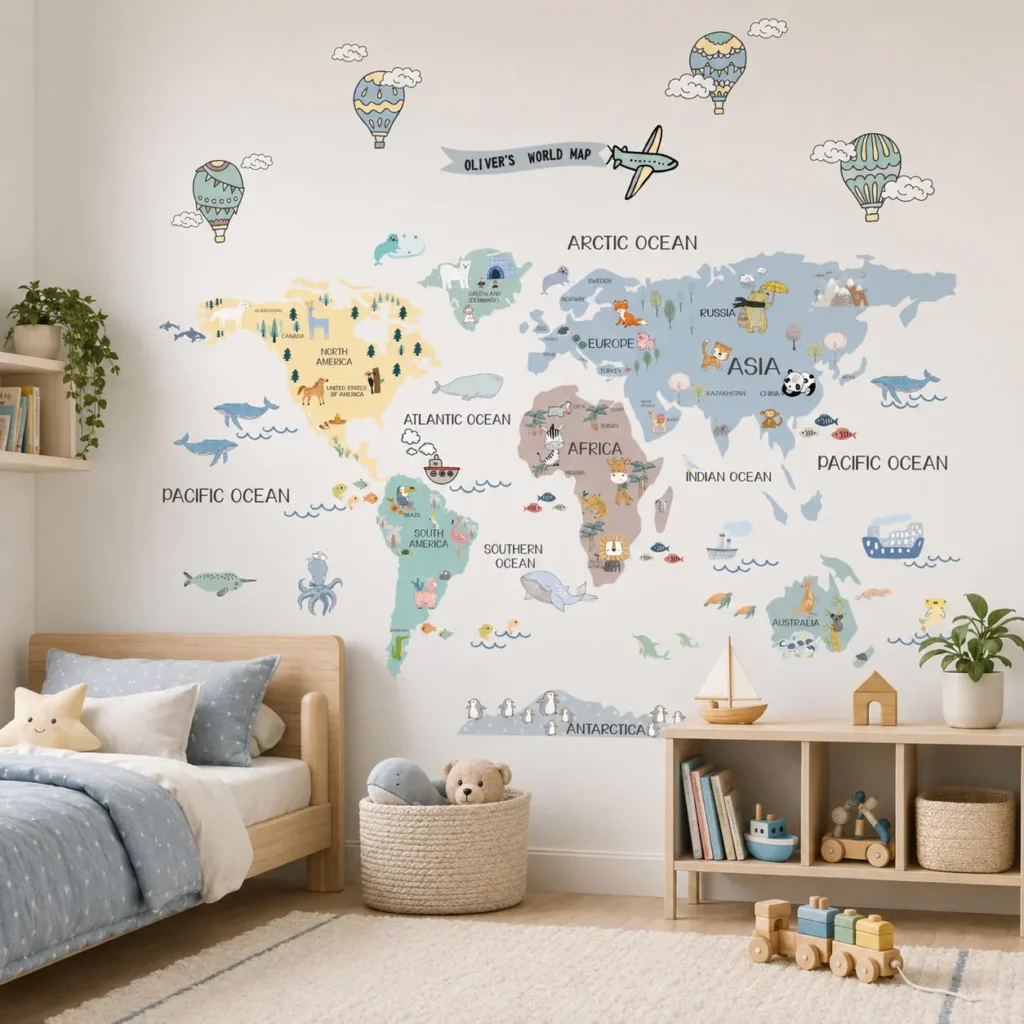
In many modern cases, yes, absolutely—provided the product utilizes a repositionable fabric material. If you plan to save it, warm the material gently with a hair dryer before peeling to ensure it doesn’t stretch or warp.
Once safely off the wall, carefully place it flat back onto its original waxy backing paper, or if you threw that away, a clean sheet of heavy-duty cling film or wax paper works for storage. When reapplying it in a new location, warm the adhesive side again briefly with the hair dryer to re-activate the tackiness and help it grip the new surface firmly. Note that rigid, single-use PVC vinyls and thin rub-on wall transfers generally do not survive this process; their chemical bond is designed to be permanent, and peeling them stretches the material beyond repair.
Can You Paint Over Sticker Residue?
Yes, but only if you prepare the surface meticulously first. You cannot simply roll new latex paint directly over raw glue.
You must first physically scrape off any raised, hardened bits of leftover adhesive. Next, sand the immediate area completely smooth. The most critical step is to prime the affected area with a high-quality stain-blocking primer (like a shellac or oil-based primer) to chemically seal whatever microscopic glue remains. Once the primer is dry, you can paint as usual. Skipping this specific priming step is the number one reason sticky residue eventually bleeds and shows through a fresh coat of expensive paint months later.
Choosing a Decal Built for Easy Removal
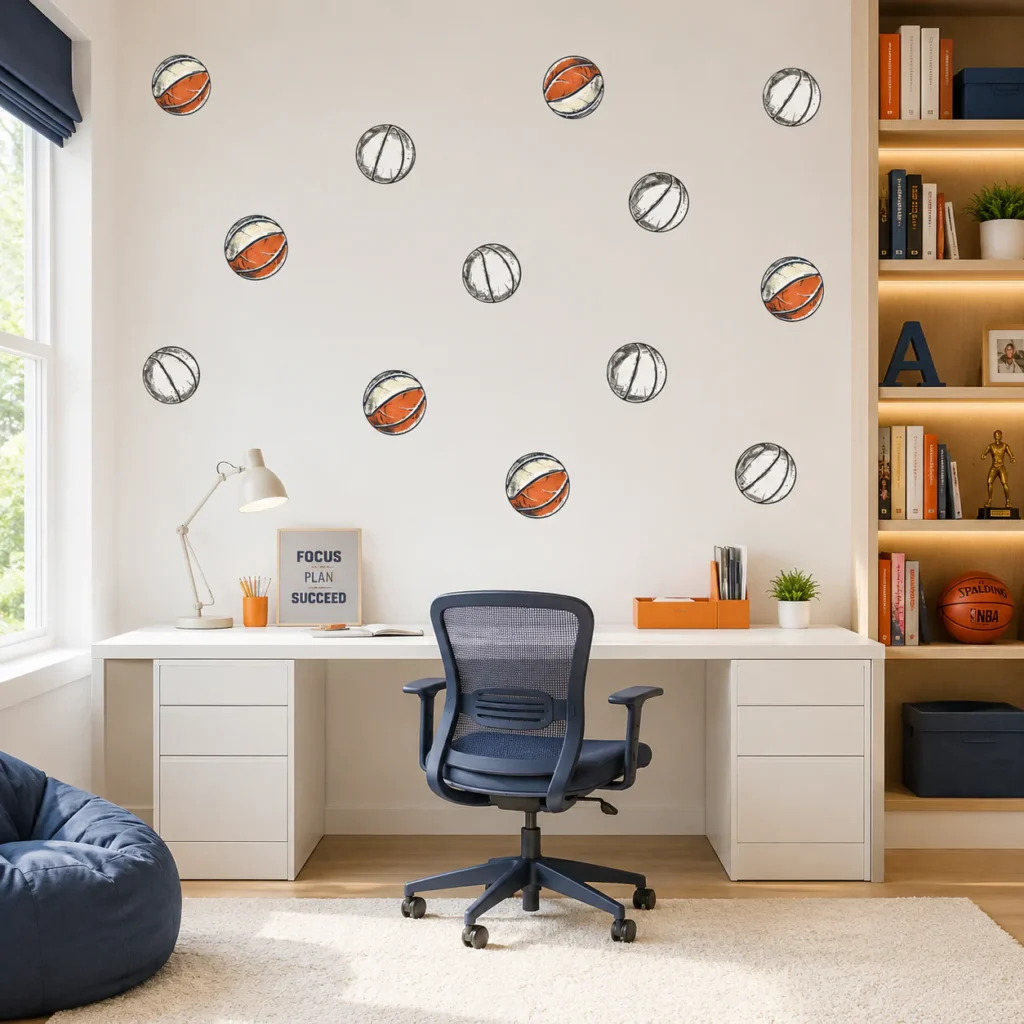
Choosing the right material at the very beginning avoids nearly all of the trial and error covered above. Modern PVC-free fabric variants utilize a specialized, repositionable, water-based adhesive that is engineered from the ground up to release cleanly. This represents a massive, highly relevant difference from standard PVC vinyl for anyone who expects to redecorate, move apartments, or simply change a room’s aesthetic over time. For a deeper understanding of these material advantages, learn more about why wall decals are worth choosing.
Frequently asked questions
How can I remove wall decals without damaging the paint?
Start strictly with the gentlest mechanical method—a very slow peel at a low angle. Only escalate to using a hair dryer for heat, soapy water, or chemical solvents like alcohol if the material actively resists. Always spot-test any liquid solvent on a hidden wall area first.
Is removing wall stickers different from decals?
Genel olarak benzerdir, ancak wall stickers genellikle kağıt veya ince vinilden yapıldığı için yırtılmaya daha müsaittir. Decal malzemeleri ise daha kalın ve esnek olduğundan, ısı uygulandığında tek parça halinde sökülmeleri çok daha kolay ve pürüzsüz olur.
Is removing wallpaper decals different?
Evet, duvar kağıdı formatındaki büyük paneller genellikle daha geniş bir yapışkan yüzey alanına sahiptir. Bu nedenle söküm sırasında bölgesel kimyasallar yerine buharlı temizleyiciler veya geniş açılı ısı tabancaları kullanmak, duvarın zarar görmesini engellemek için çok daha etkilidir.
Can I remove wall art stickers the same way?
Evet, aynı aşamalı adımları izleyebilirsiniz. Ancak wall art stickers genellikle çok sayıda ince detay ve kıvrım içerdiğinden, her bir ince parçayı koparmadan çıkarmak için ısı uygularken cımbız kullanmak ve çok daha yavaş hareket etmek gerekir.
Conclusion
Removing wall decals without damaging your walls ultimately comes down to understanding the materials involved, starting with gentle techniques, and escalating only as necessary. By beginning with a slow, low-angle peel and thoughtfully advancing to heat, soapy water, penetrating oils, or alcohol, you can eliminate stubborn residue safely. Even if a tiny accident occurs, a simple scrape, fill, prime, and repaint sequence easily restores the surface. Remember, choosing high-quality wall stickers with repositionable adhesives upfront is the smartest way to protect your surfaces long-term. Ready to upgrade your space without the stress? Explore our premium, surface-safe collections today dosjunior.com/wall-decals/