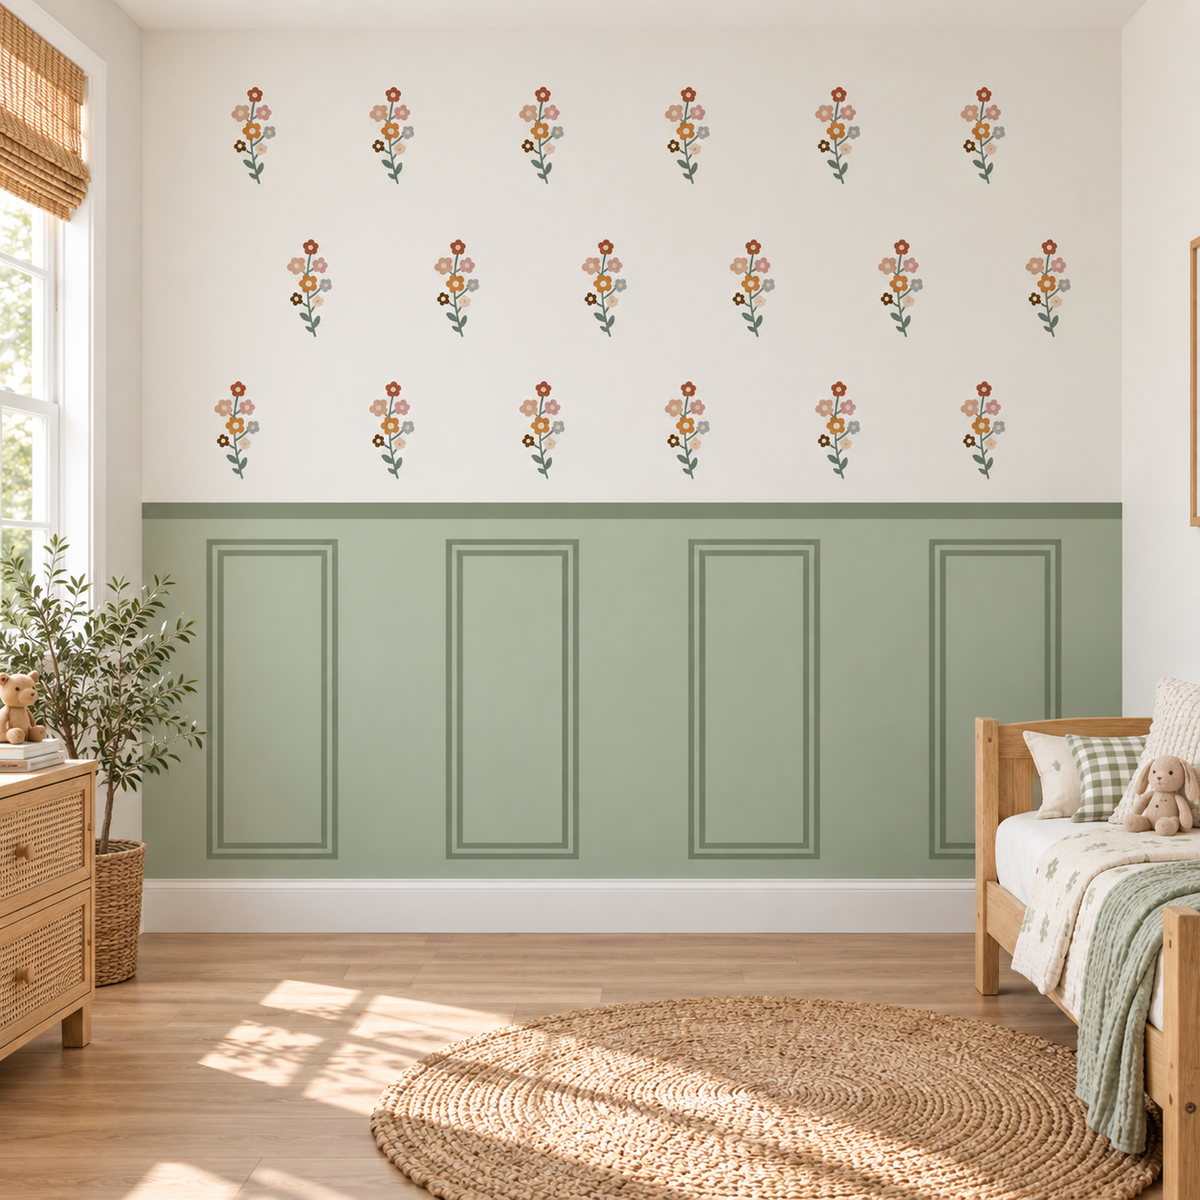
Wondering how to remove wall decals without damaging paint? The safest approach is to start at one corner, peel slowly at a low angle, and stop if the decal resists or the paint begins to lift. Gentle warmth from a hair dryer may help loosen certain adhesives, but the correct method depends on the decal material, paint condition, and wall surface.


Whether you are updating a nursery, refreshing a child's bedroom, or removing older wall stickers before redecorating, the goal is the same: lift the decoration while protecting the surface underneath.
This guide explains how to remove wall decals step by step, deal with leftover adhesive, approach different wall finishes, and avoid common mistakes that can lead to peeling paint.
Quick Answer: How to Remove Wall Decals Safely
- Check the decal manufacturer's removal instructions.
- Test a small, inconspicuous section first.
- Lift one corner with your fingernail or a plastic tool.
- Peel slowly, folding the decal back close to the wall.
- If it resists, stop and try gentle warmth if the product instructions allow it.
- Clean any remaining adhesive using a method suitable for your paint finish.
Why Are Some Wall Decals Harder to Remove?
Not all wall decals behave the same way during removal. Some removable designs lift cleanly, while others become difficult to peel after extended use or exposure to heat and sunlight.
The condition of the wall is just as important as the adhesive. Even a product marketed as removable may lift paint if the underlying coating is poorly bonded, damaged, or not fully cured.
Decal Material and Adhesive Type
Wall graphics may be made from vinyl, fabric-based materials, or other printable films. They can also use different adhesive systems, including removable, repositionable, and more permanent formulations.
A removable adhesive is generally intended to allow easier removal under specified conditions. However, removable does not mean guaranteed damage-free on every wall.
For the most reliable results, follow the removal instructions supplied with the specific product rather than assuming all wall stickers use the same adhesive.
Paint Type and Wall Condition
Glossy and semi-gloss surfaces may be easier to clean than some flat or matte finishes, but actual removal performance depends on the paint formulation and how well it adheres to the wall.
Freshly painted surfaces require particular care. Many paint manufacturers recommend waiting for the coating to cure before applying adhesive decorations. The required curing period varies by product and environmental conditions.
If paint is already flaking, chalking, or separating from the wall, decal removal may cause additional damage regardless of the technique used.
Wall Texture and Installation Age
Textured walls create uneven contact between the decal and the surface. This can affect both adhesion and removal.
Older decals may also become brittle or leave residue, especially after long exposure to sunlight and temperature changes.
These factors are why a slow, controlled removal process is safer than pulling an entire graphic off at once.
What You'll Need to Remove Wall Decals
Most wall decals can be approached with a few simple household items. Start with the least aggressive tools and only introduce additional products when necessary.
- A clean fingernail or smooth plastic scraper
- Soft microfiber cloths
- A hair dryer with adjustable heat settings
- Lukewarm water
- A small amount of mild dish soap, if compatible with the wall finish
- Clean, dry towels
- The manufacturer's installation and removal instructions
For stubborn adhesive residue, a specialized remover may sometimes be appropriate. However, chemical products should only be used when their manufacturer confirms compatibility with the wall surface.
Avoid starting with metal scrapers, acetone, strong solvents, or abrasive pads. These can damage paint, soften certain coatings, or scratch the underlying surface.
How to Remove Wall Decals Without Damaging Paint: Step by Step
For most removable wall decals, a careful peeling technique is the best starting point.
Step 1: Inspect the Wall and Test a Small Corner
Before removing a large decal, examine the surrounding paint. Look for cracks, bubbles, flaking, or previous repairs.
Choose a small corner in a less noticeable area and gently lift it. Watch the wall closely as the adhesive begins to release.
If paint starts lifting with the decal, stop immediately. Continuing may enlarge the damaged area.
Step 2: Lift the Edge Carefully
Use a fingernail to raise one corner. If necessary, use a smooth plastic tool, taking care not to scrape the paint.
Avoid sharp blades or metal scrapers, particularly on painted drywall.
Step 3: Peel Slowly at a Low Angle
Once you can grip the corner, fold the decal back toward itself and peel slowly, keeping it close to the wall rather than pulling outward.
This low-angle technique helps reduce sudden pulling forces on the painted surface.
Work in small sections and pause whenever you feel significant resistance.
Step 4: Apply Gentle Warmth Only If Needed
If the adhesive does not release easily and the decal manufacturer permits heat-assisted removal, try a hair dryer on a low setting.
Keep the dryer moving and maintain a safe distance from the surface. The goal is gentle warming, not making the wall hot.
Test a small section first. Stop if the paint softens, changes appearance, bubbles, or becomes uncomfortable to touch.
High-temperature heat guns and concentrated steam are not recommended as general-purpose solutions for painted walls.
Step 5: Remove Remaining Adhesive Carefully
After the decal has been removed, inspect the wall for sticky residue.
If the paint manufacturer allows damp cleaning, begin with a lightly dampened microfiber cloth. A small amount of mild soap may help with some residue types.
Do not saturate drywall or scrub aggressively. If residue remains, consult the decal manufacturer's recommendations before applying a stronger cleaner.
Step 6: Let the Wall Dry and Check the Finish
Use a clean cloth to remove any remaining moisture and allow the surface to dry completely.
Check the wall under normal lighting before applying new decorations. Any peeling, discoloration, or adhesive residue should be addressed first.
For a product example, see the Big Clouds Fabric Wall Decals.


Six Wall Decal Removal Methods Compared
Different removal methods suit different situations. The table below explains where each technique may be useful and when additional caution is necessary.
| Method | Best Use | Important Precaution |
|---|---|---|
| 1. Slow peeling | Removable decals that release easily | Stop if paint begins to lift. |
| 2. Gentle hair dryer warmth | Adhesives that resist ordinary peeling | Use only when product instructions permit. |
| 3. Mild soapy water | Light residue on washable finishes | Avoid soaking or excessive rubbing. |
| 4. Oil-based products | Certain adhesive residues on compatible surfaces | Can stain porous paint and drywall. |
| 5. Isopropyl alcohol | Some residues on solvent-compatible surfaces | May dull, soften, or remove paint. |
| 6. Strong adhesive removers | Specialized restoration or repaint preparation | Not a routine method for finished painted walls. |
Our recommendation: Start with slow peeling. Only move to another method if necessary and compatible with both the decal and the wall finish.
How to Remove Stubborn Wall Decal Adhesive
Sometimes the decal comes off cleanly but leaves behind a sticky patch. The safest cleaning method depends on the adhesive formulation and the wall coating.
Start by checking whether the residue can be gently rolled away with a clean finger or lifted with a soft cloth. Avoid pressing hard enough to damage the paint.
For washable paint, a lightly damp cloth with mild soap may be suitable. Test the method in an inconspicuous area and stop if the paint transfers to the cloth or changes appearance.
Oil, rubbing alcohol, acetone, and multipurpose lubricants should not be treated as universally safe wall cleaners. They can leave stains, affect sheen, soften paint, or create problems when repainting.
If the residue is particularly stubborn, follow the adhesive manufacturer's recommendations or seek advice from a painting professional.
How to Remove Wall Stickers from Different Surfaces
Wall finish plays a major role in removal. The same method may produce different results on smooth painted drywall, textured plaster, or wallpaper.
Removing Decals from Matte or Flat Paint
Matte and flat finishes may be more susceptible to visible rubbing marks or changes in sheen.
Use a gentle, low-angle peel and avoid repeated scrubbing. Before using water or cleaners, check whether the paint is designed to be washed.
If the coating is delicate or already damaged, even careful removal may lift paint.
Removing Wall Stickers from Textured Walls
Textured surfaces can make it harder to lift a decal evenly. Adhesive may remain around raised areas or within grooves.
Begin at a loose edge and work slowly in small sections. Do not force a scraper into the texture.
Use heat only if the decal instructions permit it and the wall coating can tolerate gentle warming.
Removing Decals from Wallpaper
Wallpaper requires extra caution because the decal adhesive may bond more strongly to the wallpaper surface than the wallpaper bonds to the wall.
Peeling may lift the printed layer, damage the paper, or loosen seams.
Do not assume that steam, oil, or solvent cleaners are safe for wallpaper. If the decal manufacturer does not explicitly confirm compatibility, damage-free removal may not be possible.
Removing Decals from Glass or Mirrors
Glass and mirrors often tolerate different cleaning methods from painted walls, but care is still required around frames, protective coatings, and edges.
Lift the decal slowly and use only cleaning products approved for the specific surface.
A cleaner suitable for plain glass may not be appropriate for every mirror or decorative coating.
How to Remove Wall Stickers from an Entire Wall
Removing dozens of stickers or a large wall graphic requires patience and a consistent process.
Instead of scraping the entire wall at once, divide the area into manageable sections. Start with the easiest-to-reach decals and remove them using the gentlest suitable technique.
Check each section for adhesive residue and paint damage before continuing.
If the wall is already scheduled for repainting, the preparation process may include repairing damaged paint, removing incompatible adhesive residues, sanding appropriate areas, and applying a suitable primer.
However, sanding or aggressive scraping should not be the first step when the goal is to preserve the existing finish.


What to Do If Paint Peels Off with a Wall Decal
If paint begins peeling during decal removal, stop immediately. Pulling the remaining decal away may enlarge the damaged area.
For a small damaged section, the repair process may involve removing loose paint, preparing the surface, applying a suitable filler or patching compound, priming, and repainting.
The exact repair depends on whether the damage affects only the paint or extends into the drywall paper.
If drywall paper has torn, it may require a suitable sealing primer before further repair. Applying filler directly over damaged or exposed paper without appropriate preparation can create additional problems.
For extensive damage, professional surface repair may provide a more reliable finish.
Can You Remove and Reuse Wall Decals?
Some repositionable wall decals are designed to be moved or reapplied. Others are intended for a single installation.
Whether a decal can be reused depends on its material, adhesive, age, and condition after removal.
If the manufacturer confirms that the product is reusable, remove it carefully and follow the recommended storage and reapplication instructions.
Do not assume that warming the adhesive will restore its original performance. Excessive heat may distort the decal or damage its adhesive layer.
Reusability should always be confirmed for the specific product rather than inferred from terms such as removable or peel-and-stick.
Can You Paint Over Wall Sticker Residue?
Painting directly over adhesive residue is generally not recommended. Remaining adhesive may affect the new coating's appearance or adhesion.
Before repainting, remove residue using a surface-compatible method and allow the wall to dry completely.
Repair any damaged areas and follow the paint or primer manufacturer's preparation instructions.
If the residue cannot be removed completely, a suitable specialty primer may be required. Primer selection should be based on the existing coating and the type of contamination rather than assuming one product works for every wall.
How to Prevent Wall Damage When Decorating Again
Choosing the right wall decoration and preparing the surface correctly can make future removal easier.
- Allow new paint to cure: Follow the paint manufacturer's recommended waiting period before applying adhesive decorations.
- Check surface compatibility: Confirm whether the product is suitable for smooth, textured, painted, or wallpapered surfaces.
- Follow installation instructions: Proper application helps reduce unexpected adhesion problems.
- Choose the appropriate adhesive: Consider removable or repositionable products when future redecorating is likely.
- Keep product information: Save the manufacturer's removal and care instructions for later use.
For nurseries and children's bedrooms, also consider where decorations are installed. Keep wall decorations and loose materials away from a baby's sleep space, and follow current safe-sleep guidance when arranging the room.
Choosing Wall Decals That Are Easier to Remove
If you frequently update your home decor, it is worth considering how a wall decal will be removed before installing it.
Look for clear manufacturer information about the adhesive type, compatible surfaces, installation conditions, and removal process.
Products described as removable or repositionable may be convenient for changing nursery themes, seasonal decorations, or children's bedroom designs. Nevertheless, their performance depends on the surface and the manufacturer's instructions.
At Dos Junior, you can explore decorative options for creating personalized spaces for babies and children. When selecting wall decor, review the individual product details and care instructions to find an option suitable for your room.
Frequently Asked Questions
How can I remove wall decals without damaging the paint?
Start by lifting a small corner and peeling slowly at a low angle. Stop if the paint begins to lift. If the decal resists, consult the manufacturer's instructions before trying gentle heat or another removal method.
What is the easiest way to remove wall stickers?
For stickers designed to be removable, a slow, controlled peel is often the simplest method. Older or strongly bonded stickers may require additional care depending on the adhesive and wall finish.
Is removing wall stickers different from removing decals?
The general removal process is similar, but stickers and decals may use different materials and adhesives. Follow the instructions for the specific product rather than assuming all wall graphics behave identically.
Can a hair dryer help remove wall decals?
Gentle warmth may soften certain adhesives and make peeling easier. However, heat can also affect paint and decal materials. Use it only when the product instructions permit, and avoid overheating the surface.
How do I remove sticky residue after taking off a wall decal?
Begin with the gentlest cleaning method compatible with the wall finish. A lightly damp microfiber cloth may help, while some washable finishes may tolerate mild soapy water. Test first and avoid strong solvents unless specifically approved.
Can I remove wall art stickers the same way?
In many cases, yes. However, wall art stickers with small details or delicate shapes may require slower peeling to prevent tearing. The adhesive type and wall surface remain the most important factors.
Can wall decals be removed from textured walls?
Some decals can be removed from textured walls, but uneven surfaces may make removal more difficult. Work in small sections and avoid sharp tools that could damage raised textures.
Will removable wall decals always come off without damage?
No. Even removable decals can damage poorly bonded, freshly painted, or deteriorating surfaces. A small removal test and adherence to manufacturer instructions can help reduce the risk, but cannot eliminate it entirely.
Final Thoughts: Remove Wall Decals Slowly and Safely
Learning how to remove wall decals is less about finding the strongest cleaning product and more about using the right technique for the surface.
Begin with a slow, low-angle peel, check for resistance, and use additional methods only when necessary and compatible with the material. Avoid harsh solvents, excessive heat, and aggressive scraping when preserving the paint is your priority.
With careful removal and proper surface preparation, you can refresh your nursery, children's bedroom, or living space while minimizing the risk of wall damage.