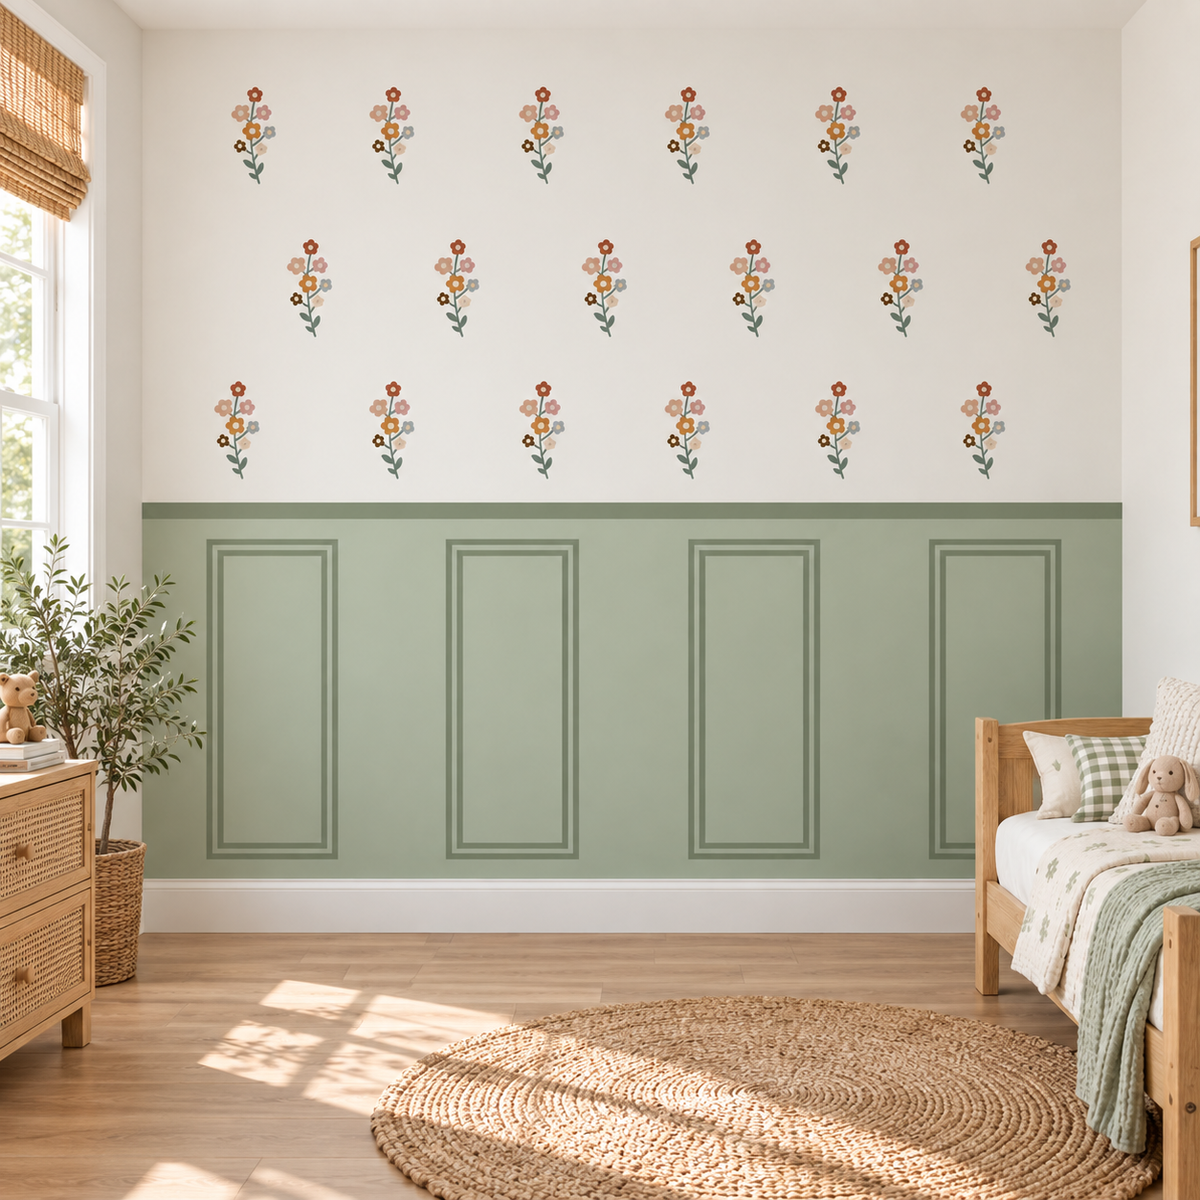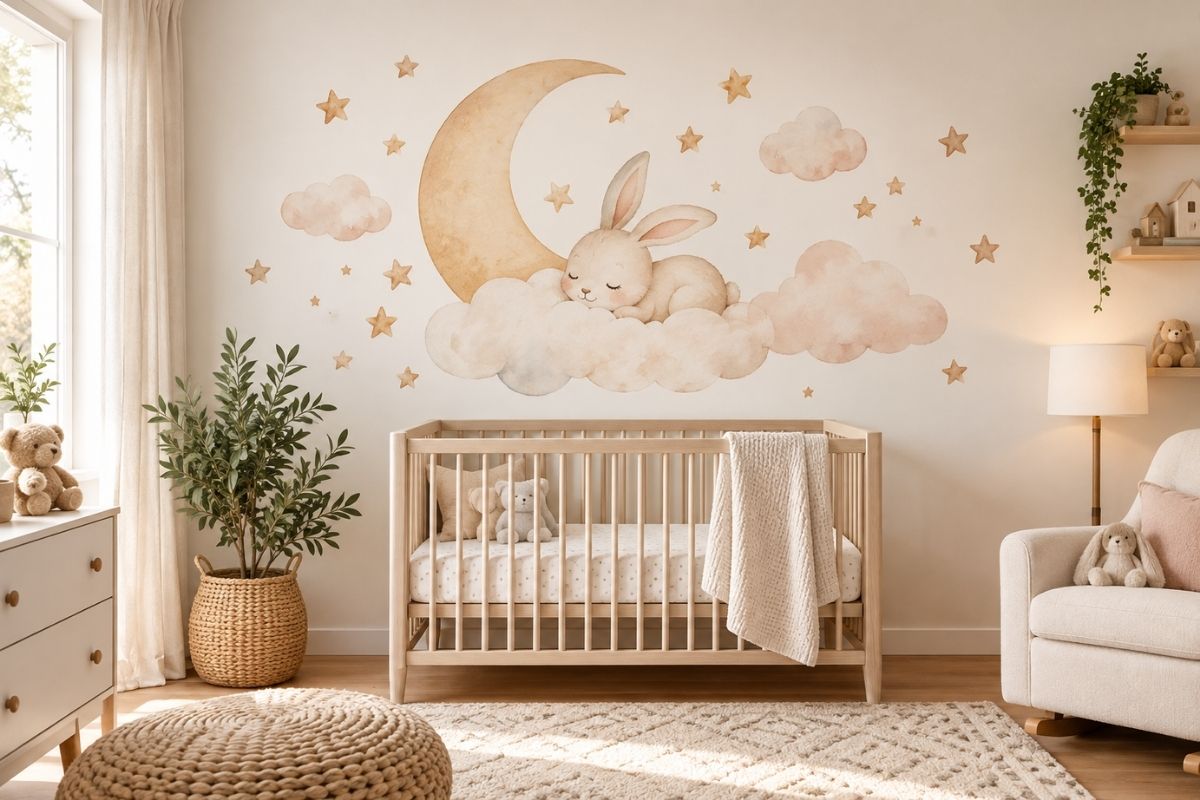
You've found the perfect nursery wall decals. The colors match your furniture, the illustrations fit your theme, and you can already imagine how they'll look in your baby's room.
But there's one question that can make or break the finished design: What size wall decal should you buy?
A design that looks impressive in a product photo might appear tiny on a large wall. Another could overwhelm a compact nursery or disappear behind furniture. And when a decal set contains several separate pieces, the dimensions listed on the product page may not represent the finished arrangement.
Choosing the right nursery wall decal size starts with measuring the space you actually want to decorate, understanding the product dimensions, and previewing the design before ordering.
This guide walks you through each step, with practical examples in inches and centimeters.
What Size Wall Decal Do You Need for a Nursery?
The ideal nursery wall decal size depends on three things: the usable wall space, the furniture near the design, and whether the decal is a single illustration or a multi-piece arrangement.
There isn't one standard size that works for every nursery.
A small animal illustration may be perfect beside a reading chair but look lost on a wide, empty wall. A large botanical composition can create a beautiful focal point in a spacious room but feel crowded when squeezed between a window and a wardrobe.
The simplest rule is to measure the available space first and choose the decal second.
Before shopping, identify:
-
The wall you want to decorate.
-
Its usable width and height.
-
Any furniture that will remain in front of the wall.
-
Windows, switches, shelves, vents, and other obstructions.
-
Whether the product dimensions refer to one piece, a sheet, or the completed composition.
These details will help you make a more reliable decision than judging scale from a styled product photograph.
How to Measure Your Nursery Wall Correctly
You don't need professional measuring equipment. A tape measure, painter's tape, and a few notes are enough.
Step 1: Measure the Full Wall
Measure the width from one side of the wall to the other and the height from the floor to the ceiling.
Record the measurements in centimeters or inches, depending on how the product dimensions are displayed.
For example, your wall might measure:
-
Wall width: 300 cm (approximately 118 inches)
-
Wall height: 240 cm (approximately 94 inches)
These are your overall dimensions, not necessarily the space available for decoration.
Step 2: Identify the Usable Area
Subtract the areas interrupted by furniture, windows, doors, built-in storage, or fixtures.
Imagine a 300 cm wall with a wardrobe on one side. After accounting for the wardrobe and the clearance you want around it, you may have only 180 cm of usable width.
That 180 cm is the more useful measurement when choosing a decal.
Don't forget to consider height. A design can fit horizontally but still extend behind a dresser or overlap a shelf.
Step 3: Measure Nearby Furniture
If you're decorating a wall behind a dresser, chair, or storage unit, measure the furniture as well.
A design can look visually disconnected when it is much narrower than the furniture below it. Conversely, an oversized composition may compete with the furniture or extend into another functional area.
For example:
-
Dresser width: 120 cm
-
Usable wall width: 180 cm
-
Decal composition width under consideration: 100 cm
A 100 cm design may create a balanced focal point above the dresser, depending on its shape and the surrounding space.
This is a styling example, not a required proportion or safety clearance.
Step 4: Mark the Design on the Wall
Use low-tack painter's tape to outline the proposed decal dimensions.
Stand in the doorway and look at the taped area. Then check it from the reading chair or another normal viewing position.
Ask yourself:
-
Does the design feel too small for the wall?
-
Will it compete with nearby furniture?
-
Is there enough breathing room around the illustration?
-
Could future furniture changes interfere with it?
If possible, leave the outline in place for a day before making your final decision.
How to Match Wall Decal Size to Nursery Furniture
Furniture is often a better visual reference than the wall's total width.
The goal is to make the decal feel connected to the room rather than floating in an unrelated space.
Above a Dresser or Changing Station
A dresser provides a natural horizontal reference for a wall illustration.
Suppose the dresser is 120 cm wide and the available wall area is 180 cm wide.
You might compare three options:
| Decal width | Approximate width in inches | Possible visual effect |
|---|---|---|
| 60 cm | 24 in | Small accent with substantial empty space |
| 100 cm | 39 in | More prominent focal illustration |
| 160 cm | 63 in | Wide composition extending beyond the dresser |
These are examples of how different widths can change the appearance of the same area, not universal recommendations.
A tall tree illustration and a wide group of animals may look very different even when their overall widths are similar.
Remember: The changing area must remain functional. Keep detachable decorations and other potentially hazardous objects away from places a child could reach.
Beside a Reading Chair
A reading corner often works well with a tall, narrow decal.
A botanical branch, illustrated tree, or vertical animal arrangement can emphasize the height of the wall without requiring a wide composition.
Measure the available area beside or behind the chair, accounting for floor lamps, book storage, and the chair's actual position.
Check the arrangement while seated, not just while standing.
On a Large Empty Wall
A spacious wall can support a wider design, but bigger isn't automatically better.
Consider whether you want one statement illustration or a scene made from several pieces.
A large watercolor animal can create a strong focal point on its own. A set of smaller woodland animals may need more spacing to achieve a similar overall presence.
For additional ideas about organizing a focal wall, explore our Nursery Accent Wall Ideas guide.
What About the Wall Behind the Crib?
The wall behind a crib is a popular location in nursery photographs, but appearance should never take priority over safety.
Avoid hanging framed pictures, mirrors, shelves, garlands, signs, or other objects above the crib.
The American Academy of Pediatrics' HealthyChildren guidance recommends limiting over-the-crib wall decoration to paint and wallpaper.
For removable decals, don't assume that being lightweight makes them risk-free. Adhesive pieces can lift or detach. Follow the product's instructions and avoid any placement where a child could reach or pull pieces loose.
If you're uncertain about a particular design or installation, choose a different focal wall away from the sleeping area.
Nursery Wall Decal Size Examples in Inches and Centimeters
Understanding dimensions becomes easier when you compare actual measurements.
The following examples are illustrative design sizes, not standardized Dos Junior product sizes.
| Example design width | Approximate inches | Potential application |
|---|---|---|
| 40 cm | 16 in | Small accent on a limited wall section |
| 60 cm | 24 in | Compact illustration beside furniture |
| 90 cm | 35 in | Medium-sized focal illustration |
| 120 cm | 47 in | Statement design for a wider wall area |
| 150 cm | 59 in | Large illustration or grouped composition |
| 180 cm | 71 in | Wide feature-wall arrangement |
These widths don't tell the whole story.
A 120 cm-wide illustration that is only 30 cm tall will feel different from a 120 cm-wide tree that extends almost to the ceiling.
Always compare both width and height.
Example: Choosing Between Two Sizes
Imagine you have 180 cm of usable wall width and are comparing two versions of the same illustration:
-
Option A: 70 cm wide
-
Option B: 130 cm wide
Option A occupies approximately 39% of the available width.
Option B occupies approximately 72%.
To calculate this:
Decal width ÷ usable wall width × 100 = percentage of wall width occupied
For Option A:
70 ÷ 180 × 100 = 38.9%
For Option B:
130 ÷ 180 × 100 = 72.2%
This percentage helps you visualize the difference. It is not a design rule: an illustration's shape, negative space, and placement matter just as much.
Single Wall Decals vs. Multi-Piece Sets: Understanding the Dimensions
One of the most common nursery wall decal sizing mistakes is assuming that every product is measured the same way.
Single-Piece Decals
A single-piece decal is usually easier to visualize because its width and height describe one connected design.
For example, an animal illustration listed as 80 × 100 cm may have a finished footprint close to those dimensions, depending on how the seller measures the artwork.
Confirm the orientation and measurement method before ordering.
Multi-Piece Wall Decal Sets
Multi-piece sets are different.
A set might contain:
-
One large giraffe
-
Two smaller animals
-
Several leaves
-
Additional decorative elements
The product listing may show the dimensions of the individual pieces, the backing sheet, or an example of the completed wall arrangement.
Those measurements are not interchangeable.
A set supplied on a 70 cm-wide sheet could cover a much wider wall after its pieces are spaced apart.
Before ordering, check whether the stated dimensions describe the packaging layout or the final design.
If that information is unclear, ask the seller for individual piece dimensions and an example of the finished arrangement.
How to Calculate the Width of a Multi-Piece Arrangement
Suppose you want to place three separate elements in a horizontal composition:
-
First element: 40 cm wide
-
Second element: 35 cm wide
-
Third element: 30 cm wide
-
Gap between each element: 15 cm
The estimated finished width is:
40 + 35 + 30 + 15 + 15 = 135 cm
That means your planned arrangement will occupy approximately 135 cm of wall width.
This calculation assumes the pieces are arranged side by side without overlapping. A staggered or layered composition will have different overall dimensions.
How to Preview Wall Decal Size Before Ordering
You don't need to install anything to test whether a design looks right.
Use Painter's Tape
Outline the product's width and height on the wall.
For irregular shapes, mark the main illustration rather than relying only on a rectangular boundary.
Use tape suitable for your painted surface and remove it according to the manufacturer's directions.
Make Paper Templates
For multi-piece designs, cut paper shapes representing the largest elements.
Attach the templates temporarily to the intended wall and experiment with different arrangements.
This helps you test spacing, alignment, and visual balance before removing any adhesive backing.
Check the Design From Several Angles
Look at your layout:
-
From the nursery doorway.
-
From the chair or seating area.
-
From the center of the room.
-
With the lights on and in natural daylight.
A decal may look perfectly proportioned close up but appear too small from the doorway.
Don't Rely Only on Product Mockups
Lifestyle photographs are useful for inspiration, but room sizes, furniture proportions, and image presentation vary.
A design that appears large above a dresser in a product photo may not have the same effect in your home.
The product's written dimensions should be your primary reference.
Common Nursery Wall Decal Sizing Mistakes
A few avoidable mistakes account for many disappointing wall arrangements.
Measuring the Whole Wall Instead of the Available Space
Windows, furniture, shelves, and doors reduce the space you can actually decorate.
Measure the clear area where the design will sit.
Ignoring the Height of the Artwork
A wide decal isn't necessarily a tall one.
Check the full dimensions, especially for trees, giraffes, rainbows, and vertical botanical designs.
Confusing Sheet Size With Finished Size
For multi-piece sets, ask what the listed dimensions represent.
The backing sheet may be considerably smaller than the completed composition.
Choosing a Size Based Only on the Product Photograph
Styled photographs can make artwork appear larger or smaller than expected.
Use measurements and wall templates before purchasing.
Forgetting Future Furniture Changes
The nursery layout may change when the crib is replaced, storage needs increase, or your child begins using the room differently.
Consider whether your chosen artwork will still work if the furniture moves.
Leaving No Space Around the Design
An illustration squeezed between a window, wardrobe, and shelving unit can feel crowded even when it technically fits.
Allow room for the composition to be visually distinct.
When Should You Request a Custom Wall Decal Size?
A custom size may be worth considering when standard options don't suit the available wall space.
Common situations include:
-
A narrow wall between two windows.
-
An unusually high ceiling.
-
A specific dresser or reading-corner arrangement.
-
A large illustration that needs to fit a limited area.
-
A multi-piece composition requiring particular dimensions.
Before requesting a custom size, prepare the usable wall width and height, your preferred design, and a photograph or sketch showing nearby furniture.
If you're considering a Dos Junior design, review the available size options on its product page and contact the team to confirm whether resizing is possible for that particular artwork.
Not every design can necessarily be resized without changing its proportions, detail, or arrangement.
Nursery Wall Decal Safety and Surface Checklist
Choosing the correct size is only one part of a successful installation.
Before placing a decal in a baby's room, check the following:
-
Wall condition: The surface is clean, dry, stable, and suitable for the specific adhesive.
-
Paint curing: Any newly painted surface has cured for the period required by the paint and decal manufacturers.
-
Surface texture: The product is compatible with the wall's finish and texture.
-
Placement: Individual pieces are away from areas where a child could reach, peel, or pull them loose.
-
Obstructions: The design does not cover electrical outlets, vents, switches, or equipment.
-
Product information: Material and safety claims are supported by the seller's actual documentation.
-
Ongoing inspection: Edges and separate elements are checked for lifting or damage.
Avoid relying on a universal installation height or an unsupported claim that any adhesive decoration is completely safe.
If a design cannot be positioned and maintained appropriately, choose another location or decorating method.
Frequently Asked Questions About Nursery Wall Decal Sizes
What is the best nursery wall decal size?
There is no universal best size. Measure the usable wall area, consider nearby furniture, and compare the product's actual width and height. Previewing the dimensions with painter's tape is one of the easiest ways to judge the fit.
Should a nursery wall decal be centered on the wall or the furniture?
For artwork intended to complement a dresser or reading area, centering it on the furniture grouping often creates a more cohesive composition. For a standalone feature wall, centering it within the usable wall area may work better.
How do I know if a wall decal is too small?
Outline the design on the wall and view it from the doorway. If the artwork feels disconnected from the furniture or disappears into a large empty area, consider a larger size or a different composition.
How do I measure a multi-piece nursery wall decal set?
Check the dimensions of the individual elements and plan the gaps between them. Add the widths and spacing for a side-by-side layout, or make paper templates for a more organic arrangement.
Can I make a nursery wall decal larger?
Some designs may be available in several sizes or eligible for customization. Check the specific product listing or ask the seller before ordering. Enlarging artwork may affect its proportions or level of detail.
Should I measure in inches or centimeters?
Either unit works as long as you use it consistently. If the product listing uses a different unit, convert the measurements before comparing them with your wall.
For reference, 1 inch = 2.54 centimeters.
Can I use a large wall decal in a small nursery?
Yes, if the design fits the available wall area and doesn't interfere with furniture or fixtures. A single large illustration can sometimes look more cohesive than many scattered decorations.
Final Thoughts: Measure First, Decorate With Confidence
The right nursery wall decal size isn't determined by a universal chart or the appearance of a product photo.
It comes from understanding your room.
Measure the usable wall space, consider the furniture, compare both dimensions of the artwork, and check how multi-piece designs are arranged. A simple tape or paper preview can save you from choosing a decal that feels too small, too large, or awkwardly positioned.
Once you've established the right dimensions, you can focus on finding artwork that suits your nursery's personality.
Explore the illustrated wall decor available at Dos Junior, compare the measurements on individual product pages, and choose a design that feels thoughtfully proportioned to your space.