Wall decals can sometimes stick to lightly textured walls, but adhesion is less predictable than on smooth surfaces. Fine orange peel or light knockdown textures may work with certain decal materials, while rough stucco, brick, popcorn textures, and deeply uneven surfaces are generally more challenging. The result depends on the wall finish, adhesive, decal material, and installation conditions.

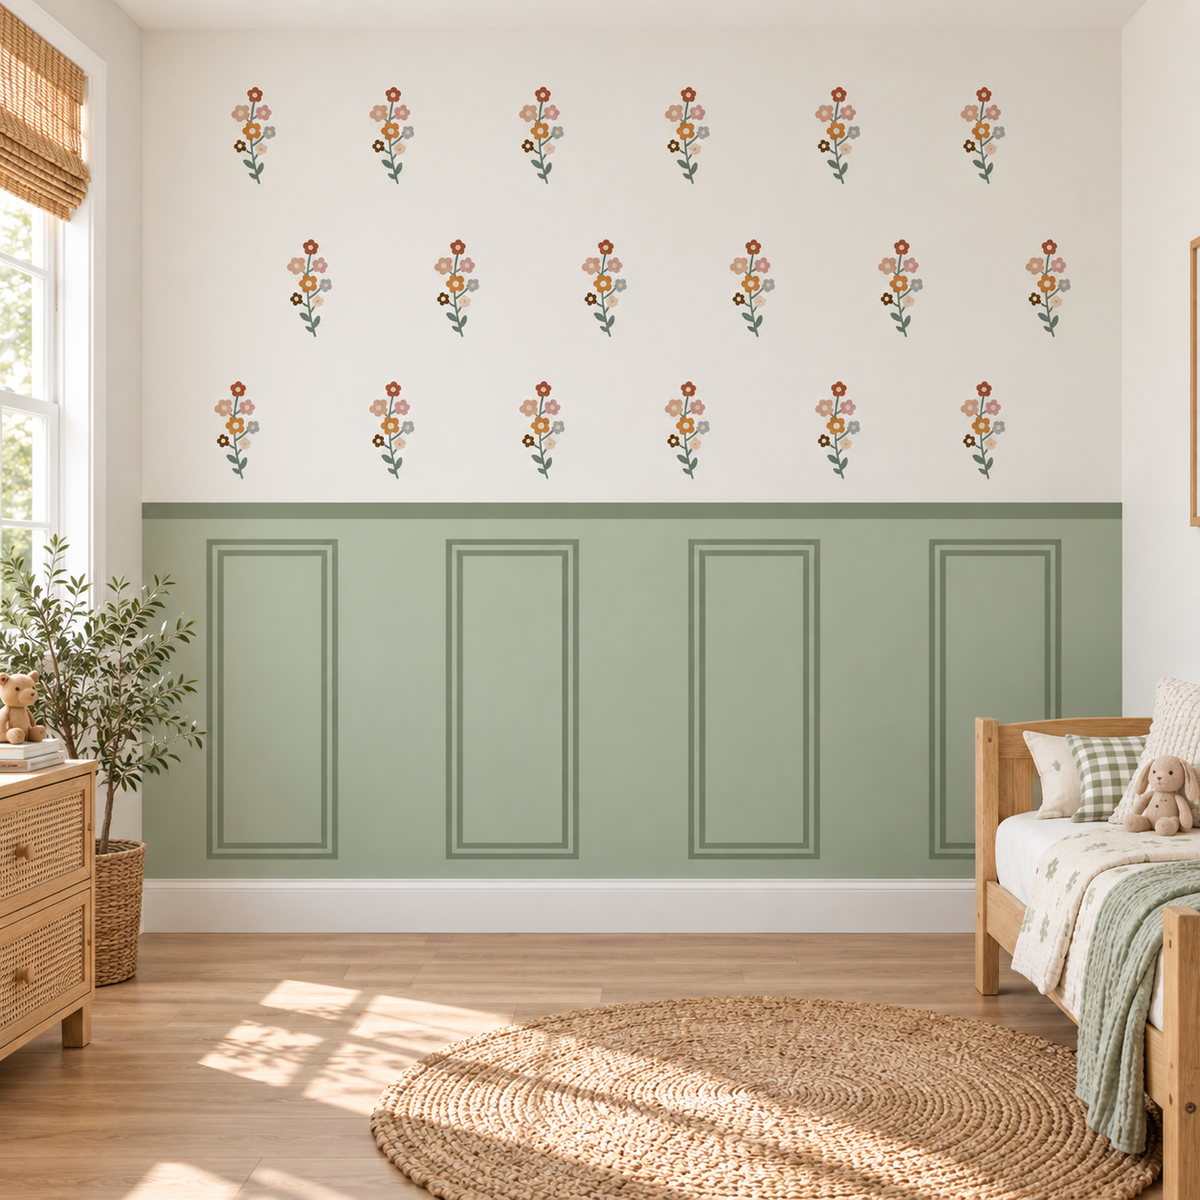
Start with the separate 20 × 9 in sample to check adhesion and removal on your wall. The room image shows full Sage Green panels.
View Sage Green full panel · View sample only

Full panel. Check your wall finish before ordering.
If you're considering wall decals for textured walls, the most important step is to check compatibility before ordering a full-size design.
A wall decal might look beautiful in a nursery photograph, but the same product may behave differently on your own wall. Understanding your wall texture can help you avoid lifting edges, premature peeling, and disappointment after installation.
In this guide, you'll learn which textures are more likely to work, why some decals fail, how to test a sample, and what to consider when decorating a nursery or child's room.
Can Wall Decals Stick to Textured Walls?
Yes, some wall decals can adhere to textured walls, but not every decal is suitable for every texture.
Most removable wall decals rely on adhesive making consistent contact with the wall. When a surface has raised bumps, grooves, or uneven patches, parts of the adhesive may not touch the wall at all.
That reduced contact can make the decal easier to lift or peel.
Lightly textured walls may provide enough contact for a compatible material. Deeply textured walls are much less predictable.
The safest purchasing approach is to:
-
Identify your wall texture.
-
Check the manufacturer's surface recommendations.
-
Confirm that the paint and wall finish are suitable.
-
Test the actual decal material in an inconspicuous area.
-
Order the full design only after reviewing the test results.
A successful sample test improves confidence, but it cannot guarantee how every piece will perform over time.
Which Wall Textures Work Best With Decals?
Not all textured walls present the same adhesion challenges.
Use the following comparison as an initial guide, not a guarantee of compatibility.
| Wall surface | Typical characteristics | Decal compatibility considerations |
|---|---|---|
| Smooth painted drywall | Even, relatively flat finish | Often the most suitable starting point when paint and adhesive are compatible |
| Fine orange peel | Small, shallow bumps | Some products may adhere; a material-specific sample test is recommended |
| Light knockdown | Flattened raised areas with shallow recesses | Results vary with texture depth and adhesive contact |
| Heavy knockdown | Pronounced ridges and recessed areas | Greater risk of incomplete contact and peeling |
| Popcorn texture | Coarse, raised, irregular particles | Generally unsuitable for standard removable decals |
| Stucco | Rough, grainy, sometimes sharp texture | Often difficult; product-specific approval is essential |
| Brick or masonry | Uneven surfaces, mortar joints, porous finishes | Standard decals may not adhere consistently across the surface |
The depth of the texture matters more than its name alone.
Two homes can both have orange peel walls, yet one surface may have much more pronounced bumps than the other.
Orange Peel Walls
Orange peel texture has a slightly bumpy appearance resembling the skin of an orange.
A fine version may be compatible with some flexible decal materials. A heavier version may prevent sufficient adhesive contact.
Before purchasing, inspect the surface in side lighting. This makes raised areas and small recesses easier to see.
If your wall has orange peel texture, request a material sample rather than assuming that every removable decal will work.
Knockdown Textured Walls
Knockdown texture usually features flattened raised patches separated by lower areas.
Light knockdown can sometimes provide enough relatively flat contact points for a decal. Heavy knockdown is more challenging because the adhesive may bridge across deeper recesses.
Pay particular attention to whether the edges remain attached during a sample test.
An initially smooth-looking application doesn't necessarily mean the adhesive has made consistent contact.
Popcorn, Stucco, and Brick Walls
Highly irregular surfaces create larger gaps between the decal and the wall.
Popcorn texture can also have fragile raised material that may loosen under pressure. Stucco may be rough or abrasive, while brick combines uneven faces with recessed mortar joints.
For these surfaces, standard removable decals are generally a poor choice unless the manufacturer explicitly confirms compatibility.
Avoid forcing an unsuitable decal onto a rough wall. If the product cannot make reliable contact, another decorating method may be more appropriate.
Why Do Wall Decals Peel Off Textured Walls?
A decal that won't stick isn't necessarily defective.
Several factors can interfere with adhesion.
Reduced Adhesive Contact
On a smooth wall, more of the adhesive can touch the surface.
On a textured wall, raised areas may support the decal while lower areas remain untouched.
Less contact can mean a weaker bond, especially around narrow details and edges.
Air Gaps Behind the Decal
When a decal stretches across bumps and grooves, small pockets may remain underneath.
These gaps can make the material appear raised or uneven and contribute to lifting over time.
Dust, Residue, and Wall Contamination
Textured surfaces can trap dust more easily than smooth ones.
Grease, cleaning-product residue, loose paint, or powdery wall material can also interfere with adhesion.
A wall may look clean from a distance while still having contamination in its recessed areas.
Paint and Surface Finish
Adhesion depends on more than texture.
Some washable, stain-resistant, low-surface-energy, or specially coated paints can be difficult for adhesives to bond to.
Fresh paint may also require a curing period beyond the point when it feels dry to the touch.
Follow both the paint manufacturer's curing instructions and the decal manufacturer's requirements.
Environmental Conditions
Humidity, temperature changes, and repeated moisture exposure may affect certain adhesive products.
Installation conditions and long-term performance vary by material, so check the manufacturer's recommended temperature and environmental limits.
Fabric vs. Vinyl Decals on Textured Walls
When shopping for wall decals, you'll often encounter different material options.
Two common categories are fabric-based decals and vinyl decals.
Neither is automatically suitable for every textured surface.
| Material | General characteristics | What to check before buying |
|---|---|---|
| Fabric-based wall decals | May be flexible and repositionable, depending on the product | Specific adhesive, supported textures, removability, and sample availability |
| Standard removable vinyl | Available in many finishes, thicknesses, and adhesive types | Whether the manufacturer approves the exact wall texture |
| Specialty textured-surface films | Designed for particular challenging surfaces | Documented compatibility, installation requirements, and removal limitations |
Are Fabric Wall Decals Better for Textured Walls?
Some flexible fabric-based decals can conform to minor surface irregularities.
However, fabric alone doesn't determine adhesion.
A fabric decal with an unsuitable adhesive may perform worse than a vinyl product specifically designed for the surface.
The manufacturer's tested compatibility is more useful than a broad claim that one material always sticks better.

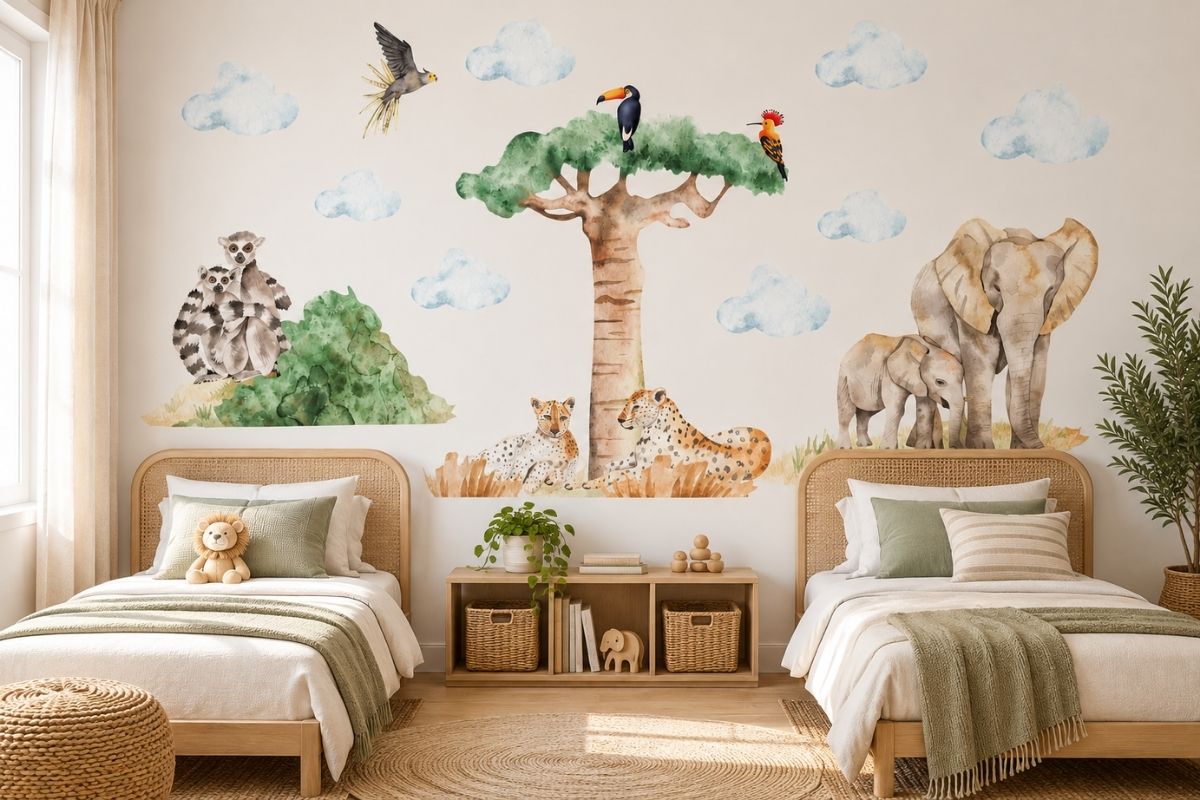
A fabric decal example. Check your wall finish before ordering.

Does Thicker Vinyl Stick Better?
Not necessarily.
Thicker material may behave differently around bumps and grooves, but thickness alone doesn't tell you how well the adhesive will bond.
Adhesive chemistry, flexibility, surface contact, and the wall finish all matter.
Choose a product based on its documented surface compatibility rather than thickness or price alone.
What About Removable Decals?
Removable doesn't mean compatible with every wall, and it doesn't guarantee damage-free removal.
The result can depend on paint condition, surface preparation, how long the product remains installed, and the adhesive itself.
For a more detailed explanation of removal considerations, see our guide to how to remove wall decals without damaging paint.
How to Test a Wall Decal Before Ordering
A sample test is one of the most useful steps you can take before buying a large decal for a textured wall.
The sample should use the same material and adhesive as the full-size product.
A sample made from a different film won't reliably represent the product you intend to purchase.
Step 1: Choose a Representative Test Area
Select a discreet section of the wall with the same paint and texture as the intended installation area.
Avoid testing only on an unusually smooth patch if most of the wall is more heavily textured.
Step 2: Prepare the Surface as Directed
Follow the decal manufacturer's cleaning and drying instructions.
Don't automatically use alcohol, abrasive cleaners, or other chemicals. Some wall finishes and adhesive products may be incompatible with them.
Make sure the surface is fully dry before testing.
Step 3: Apply the Sample According to Instructions
Apply the sample using the pressure and technique recommended for that particular product.
Don't use a heat gun, hair dryer, extra glue, or edge sealer unless the manufacturer specifically recommends the method.
Adding heat or another adhesive can change the product's behavior and may damage the wall.
Step 4: Observe the Sample
Inspect the sample immediately after application and again after the observation period recommended by the manufacturer.
Look for:
-
Corners or edges lifting away from the wall.
-
Air gaps that prevent consistent contact.
-
Sections that release without being touched.
-
Changes in adhesion as the room temperature varies.
-
Visible damage to the wall finish.
If no observation period is provided, ask the seller what test duration is appropriate for the material.
Step 5: Evaluate Removal
If the product is intended to be removable, follow its removal instructions when the test is complete.
Check for paint lifting, adhesive residue, or changes to the finish.
A decal that sticks well but damages the paint during removal may not meet your needs.
Step 6: Decide Whether to Proceed
If the sample lifts, fails to bond, or affects the paint, don't assume the full-size decal will perform better.
Contact the manufacturer about alternative materials or consider another decorating approach.
If you're interested in a Dos Junior design, review its product information and ask the team about available material options and samples for your particular wall.
How to Prepare a Textured Wall for Decals

Full panel. Check your wall finish before ordering.

Full panel. Check your wall finish before ordering.
Surface preparation can improve the conditions for adhesion, but it cannot make every textured wall compatible.
Start with the product's own installation instructions.
Check the Paint Condition
The paint should be stable, fully cured, and free from peeling or powdery areas.
A decal cannot reliably bond to a finish that is already separating from the wall.
Remove Dust and Residue
Clean the surface using the method approved for both the wall finish and the decal.
Textured walls may require extra attention to remove dust from recessed areas.
Allow the surface to dry completely.
Confirm the Installation Environment
Check whether the manufacturer specifies a suitable temperature range or other installation conditions.
Avoid installing a product on a damp wall or in conditions outside its recommended limits.
Don't Sand or Seal the Wall Without a Plan
Sanding may permanently change the wall's texture and finish. Disturbing older coatings can also create additional hazards.
Likewise, adding a sealer, primer, or extra adhesive may affect removability and paint compatibility.
For a removable decorating project, it's generally better to select a product designed for the existing surface than to alter the wall without professional guidance.
What to Do if Your Wall Decal Won't Stick
If a decal begins peeling after installation, first identify the likely cause.
| What you notice | Possible explanation | Recommended next step |
|---|---|---|
| Edges lift soon after application | Inadequate contact, incompatible finish, or installation issue | Check instructions and contact the manufacturer |
| Decal sticks to raised bumps but bridges grooves | Texture is too deep for consistent contact | Consider a different product or location |
| Several pieces detach over time | Surface, adhesive, or environmental incompatibility | Remove loose pieces and reassess suitability |
| Adhesive doesn't bond after recent painting | Paint may not be fully cured or may have an incompatible finish | Confirm paint curing and compatibility requirements |
| Paint lifts during sample removal | Wall finish or adhesive is unsuitable for damage-sensitive removal | Stop testing and seek product-specific advice |
Avoid repeatedly heating, pressing, or gluing a decal that is clearly incompatible with the wall.
If the product is peeling in a child's room, remove any loose or accessible pieces promptly.
Choosing Wall Decals for a Nursery or Child's Room
Wall decals are popular for nurseries because they can add illustrations, color, and personality without requiring a full wall redesign.
However, a nursery introduces additional placement considerations.
Keep Loose or Peelable Pieces Out of Reach
Small detachable pieces can become hazards if a baby or young child can pull them off.
A textured wall that causes edges to lift increases the importance of careful placement and regular inspection.
Never treat a successful initial installation as proof that the pieces will remain attached indefinitely.
Choose a Suitable Focal Wall
You don't have to decorate the wall directly behind the crib.
A reading corner, dresser wall, or another area away from the sleep space may provide a better location.
The American Academy of Pediatrics advises keeping the crib area free of potentially hazardous wall decorations and objects that could fall into the sleep space.
Avoid hanging frames, shelves, mirrors, garlands, or other objects over the crib.
Inspect the Installation Over Time
Check for lifting edges, damaged sections, and pieces that may become accessible as your child grows.
If a decal begins detaching, don't leave the loose section in place.
For more ideas about choosing a decorative focal point, explore our Nursery Accent Wall Ideas.
What if Your Textured Wall Isn't Suitable for Decals?
A failed sample test doesn't mean you can't create a beautiful room.
Consider alternatives that suit the wall and the room's safety requirements.
Options may include:
-
Decorating a smoother wall elsewhere in the room.
-
Using paint to create an accent or illustrated effect.
-
Choosing a manufacturer-approved wall covering designed for that specific surface.
-
Creating a decorative focal point with furniture and textiles rather than adhesive wall graphics.
For a nursery, avoid replacing an unsuitable decal with heavy or suspended decorations above the crib.
If you are considering another adhesive wall covering, check its compatibility separately. Wallpaper and wall decals do not necessarily use the same materials or installation methods.
Our Wall Decals and Wallpaper Guide explains the differences between these decorating options.
Frequently Asked Questions
Can wall decals stick to orange peel walls?
Some decals can adhere to lightly textured orange peel walls, but results vary. Fine texture may allow sufficient adhesive contact, while pronounced bumps can cause lifting. Check the product's compatibility information and test a sample.
Do wall decals work on knockdown texture?
Light knockdown may be suitable for certain materials. Heavy knockdown is more difficult because its recessed areas can prevent consistent adhesive contact. A sample test is recommended before ordering.
Why are my wall decals not sticking to my wall?
Possible causes include deep texture, dust, uncured paint, an incompatible paint finish, moisture, or a mismatch between the adhesive and surface. Check the product instructions and inspect the wall before trying another installation.
What are the best wall decals for textured walls?
The best choice is a product whose manufacturer explicitly supports your particular wall texture. Flexible materials and specialty adhesive systems may help in some cases, but no single material is best for every textured wall.
What sticks best to textured walls?
That depends on the texture, paint, and intended application. Products specifically tested for the surface are more reliable choices than general-purpose removable stickers. For very rough walls, a non-adhesive decorating option may be preferable.
Can I use a hair dryer to make wall decals stick?
Only if the decal manufacturer recommends it. Heat may affect the adhesive, decal material, or paint finish. Don't assume that a technique suitable for one brand is safe for another.
Will removable wall decals damage textured paint?
They can. Removability depends on the adhesive, paint condition, surface preparation, and removal method. Test the actual material in an inconspicuous area and follow the manufacturer's instructions.
Can I put wall decals on freshly painted textured walls?
Wait until the paint has fully cured according to the paint and decal manufacturers' instructions. Dry-to-the-touch paint isn't necessarily ready for adhesive decorations.
Final Thoughts: Test the Wall Before You Commit
Wall decals can work on some textured walls, especially when the texture is light and the adhesive is designed for the surface.
But there's no universal guarantee.
The most dependable approach is to identify your wall texture, check product compatibility, and test the actual material before purchasing a large design.
If the sample performs poorly, choose a different material or decorating location rather than trying to force the decal to stick.
At Dos Junior, you can explore illustrated wall decor for nurseries and children's rooms. Before ordering, check the specific product's material and installation details, and contact the team if you need help assessing your wall surface.
A beautiful result starts with choosing a design that suits both your room and your wall.